Protein Techniques
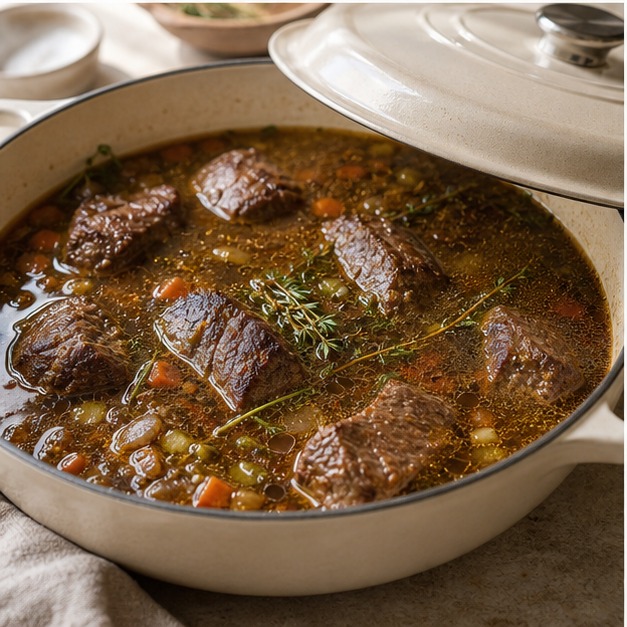
Braising Until Collagen Turns Tender
How to move meat from tough and tight to silky and tender using controlled heat, liquid, and time.
- Brisket, short ribs, chicken thighs, and tougher cuts in casseroles.
- Saucy one-pot meals that rely on connective tissue melting into liquid.
- Recovering from dry, chewy braises and flat flavor profiles.
Step 1
Know what collagen is doing
Collagen does not become tender by surface searing alone. It breaks down slowly as moisture and heat work together. That means braise timing is about conversion, not color.
The target state is not necessarily ‘done’ at a preset minute mark. It is when collagen has largely dissolved and the meat resists pullback when prodded.
Step 2
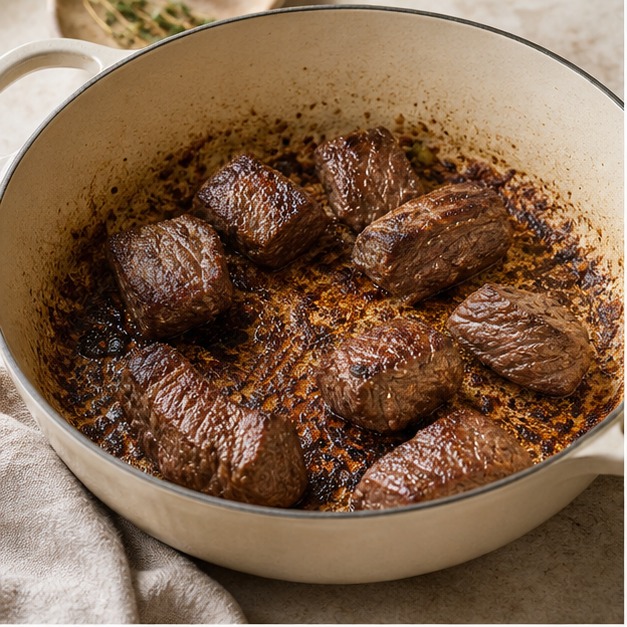
Brown first, then lower heat
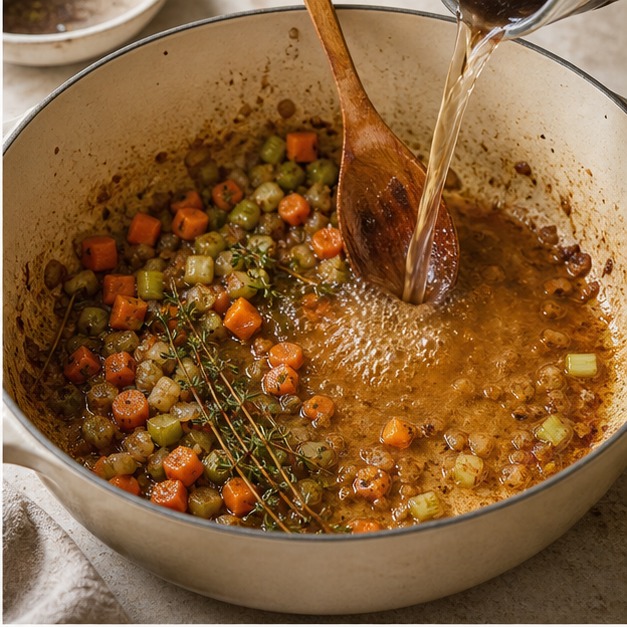
A strong initial sear creates flavor compounds and fond. That fond becomes the base for sauce depth later. But once the sear is done, lower, even heat preserves moisture and prevents case hardening.
Think of braising as a long, gentle simmer in a moist environment. If the liquid is at a hard boil, you are likely breaking down fibers too aggressively and losing texture quality.
Step 3
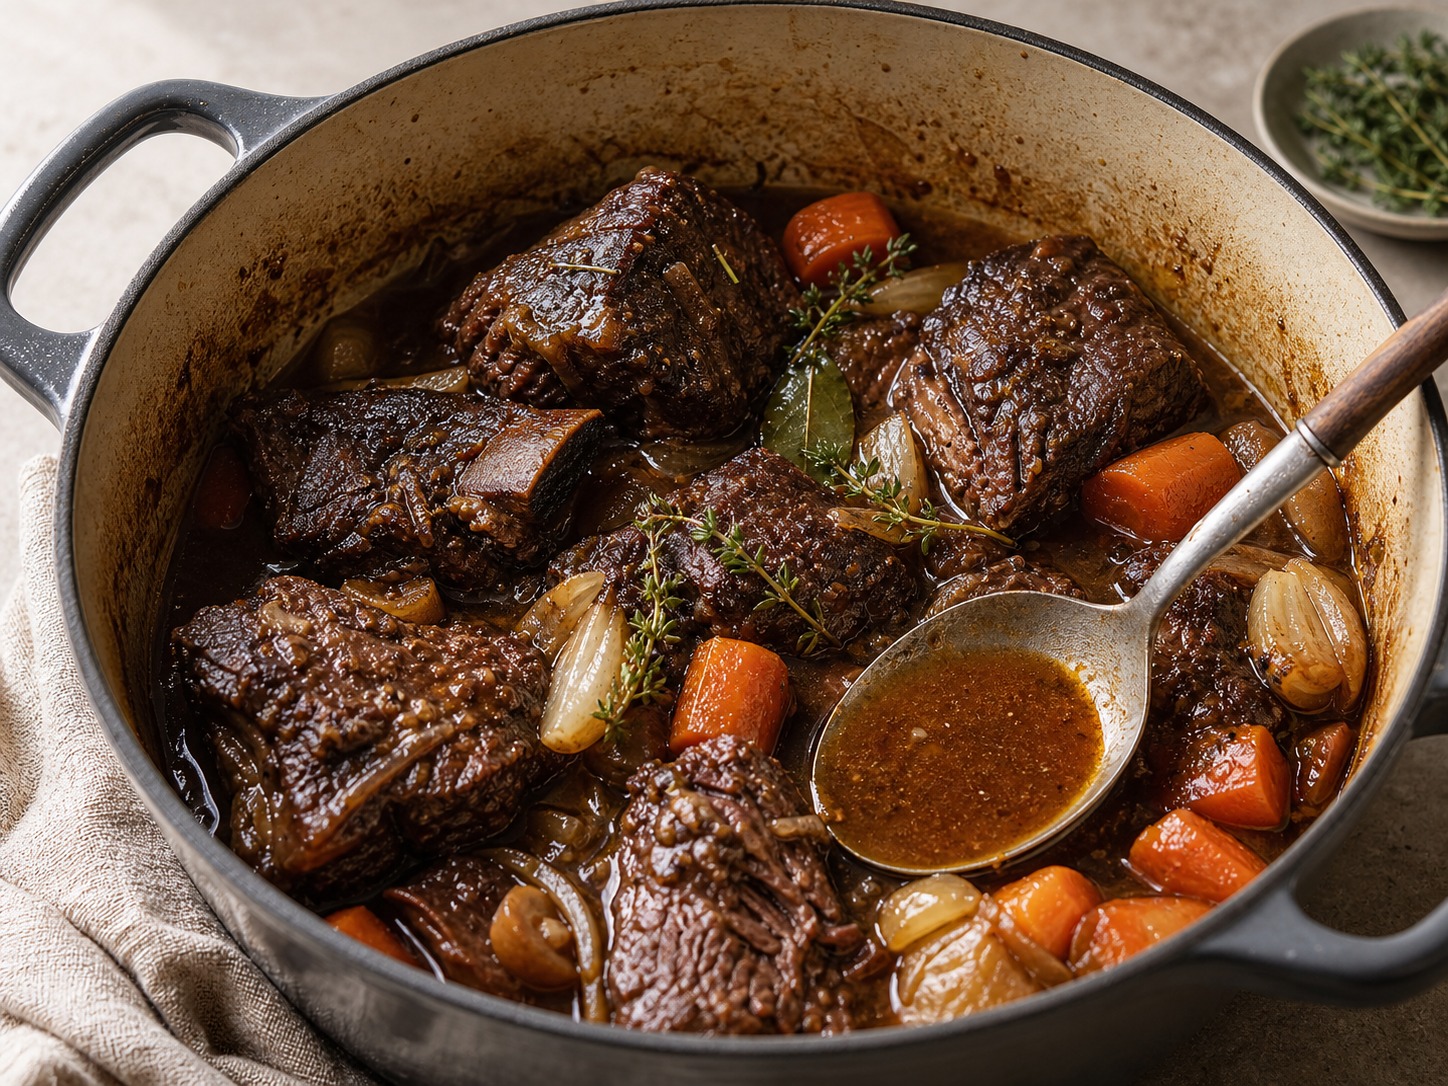
Liquid level and lid strategy
Use enough liquid to hydrate the upper layer and prevent evaporation stress, but not so much that you boil off flavor. A shallow liquid line plus a tight lid traps heat and keeps aroma compounds circulating.
Acidic elements can accelerate softness in some cuts, but too much acid early can tighten protein. Add acid last if your meat starts to flatten too quickly.
Step 4
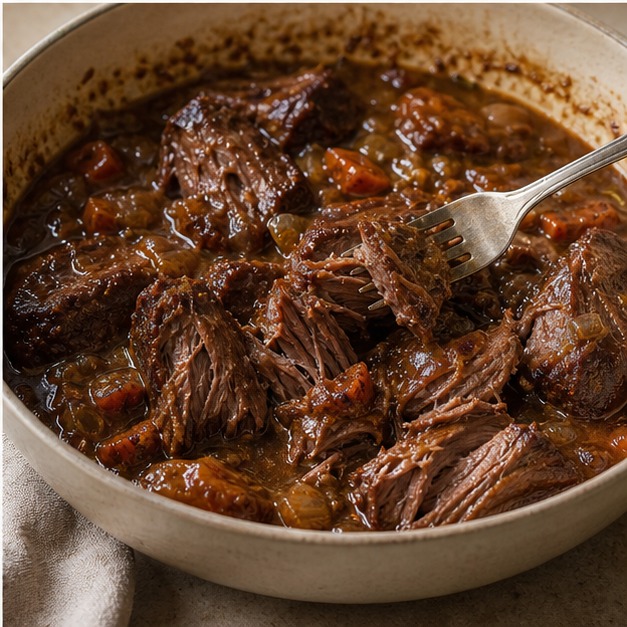
Test by feel, not clock
For predictable tenderness, use the resistance test: the meat should yield with a fork and pull fibers apart with minimal resistance. If it fights back, keep the liquid gentle and wait.
This timing logic should carry into recipe instructions as an internal link point. If a recipe references braise, include this same test language, then users can transfer the skill across pages.